In a previous post (Getting DeepChem running in Colab), I explained how to install DeepChem in Colab and hack with it. This method is great if you want to use the last stable release version of DeepChem to do work. But if you’re a DeepChem developer who wants to hack on the latest version in HEAD, this isn’t quite enough to get you started. However, there is a way to install DeepChem HEAD in your colab notebook!
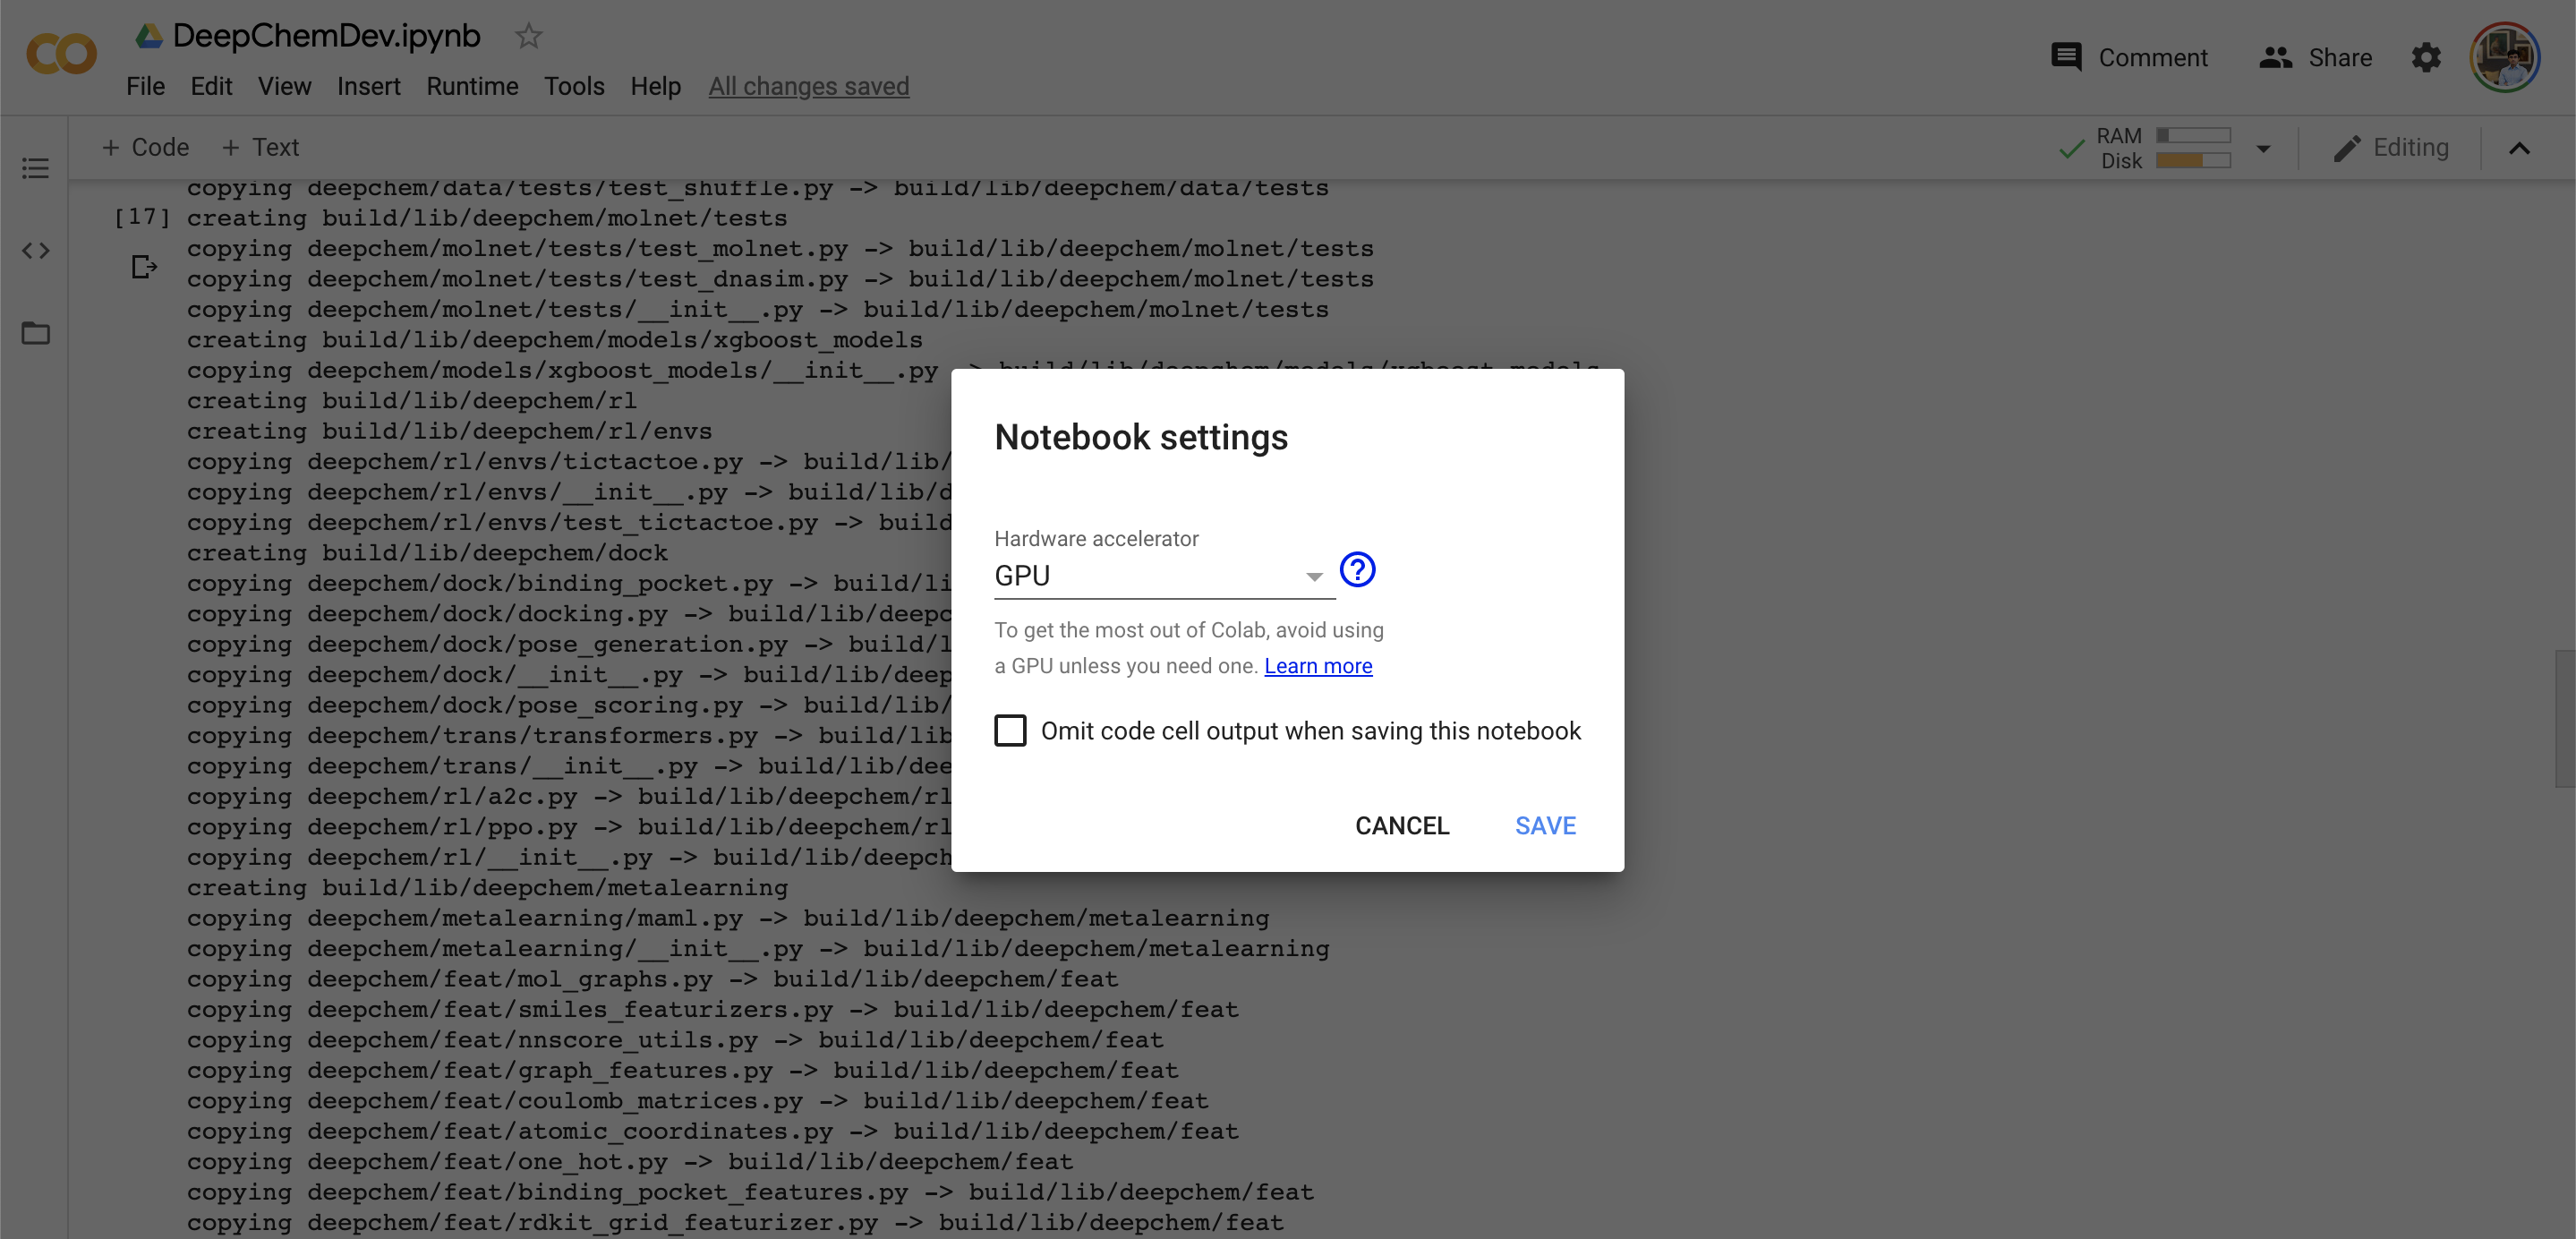
First, make sure that you’re running on a GPU instance on Colab. You can do this by clicking the “Runtime” menu bar, and clicking “Change runtime type” underneath. This will take you to the following panel where you can change to a GPU runtime.

Our next step is to install the latest stable version of DeepChem. We do this to get all of DeepChem’s dependencies installed:
!wget -c https://repo.anaconda.com/miniconda/Miniconda3-latest-Linux-x86_64.sh
!chmod +x Miniconda3-latest-Linux-x86_64.sh
!bash ./Miniconda3-latest-Linux-x86_64.sh -b -f -p /usr/local
!conda install -y -c deepchem -c rdkit -c conda-forge -c omnia deepchem-gpu=2.3.0
import sys
sys.path.append('/usr/local/lib/python3.7/site-packages/')
DeepChem HEAD runs on the latest TensorFlow, so we don’t need to tell Colab to use TensorFlow 1.x. Let’s make sure we have a GPU instance running. You can do that by running these commands:
import tensorflow as tf
print("tf.__version__: %s" % str(tf.__version__))
device_name = tf.test.gpu_device_name()
if not device_name:
  raise SystemError('GPU device not found')
print('Found GPU at: {}'.format(device_name))
Now let’s clone DeepChem to our Colab instance
!git clone https://github.com/deepchem/deepchem.git
To install this version of DeepChem, we need to change directory into the folder we’ve cloned. We need to use the magic %cd command to do this in Colab.
%cd deepchem/
And now we install DeepChem with
!python setup.py install
And now you’re all set! Simply run
import deepchem as dc
And you’re all set!


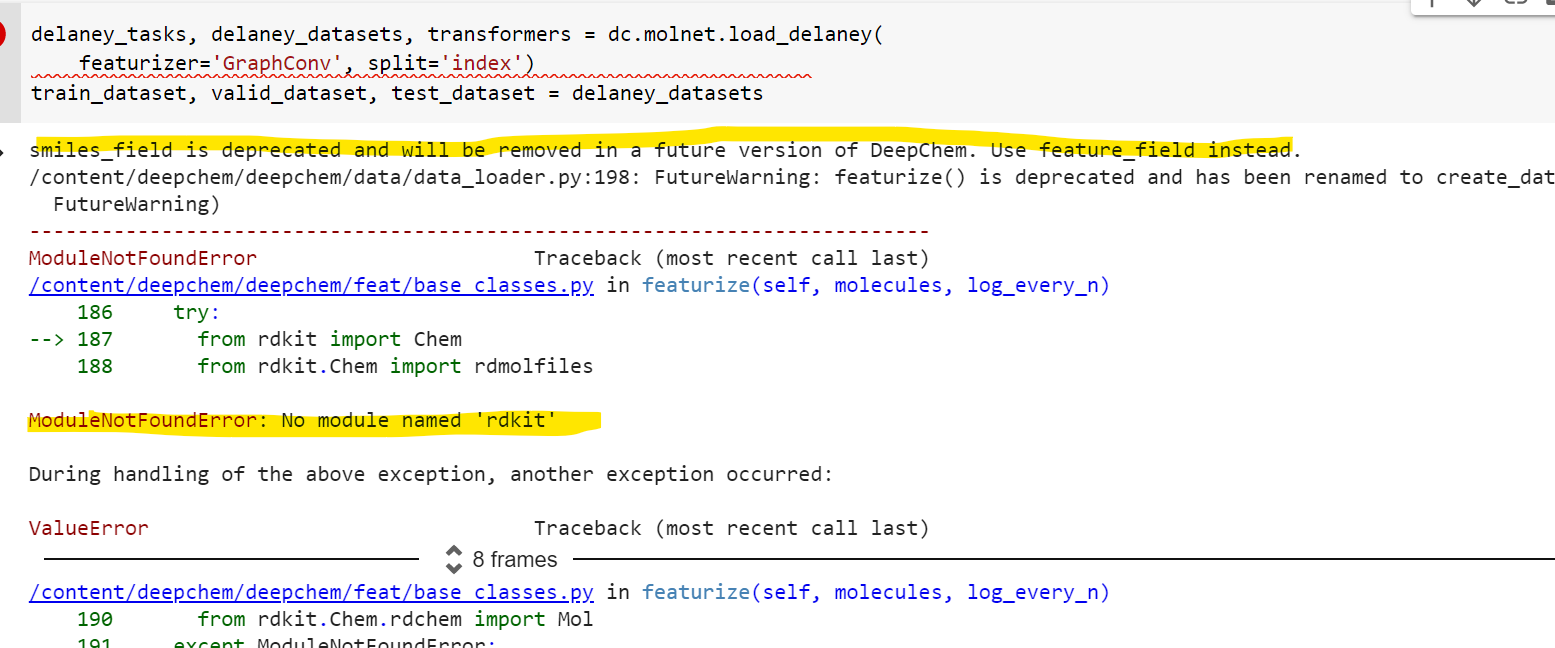
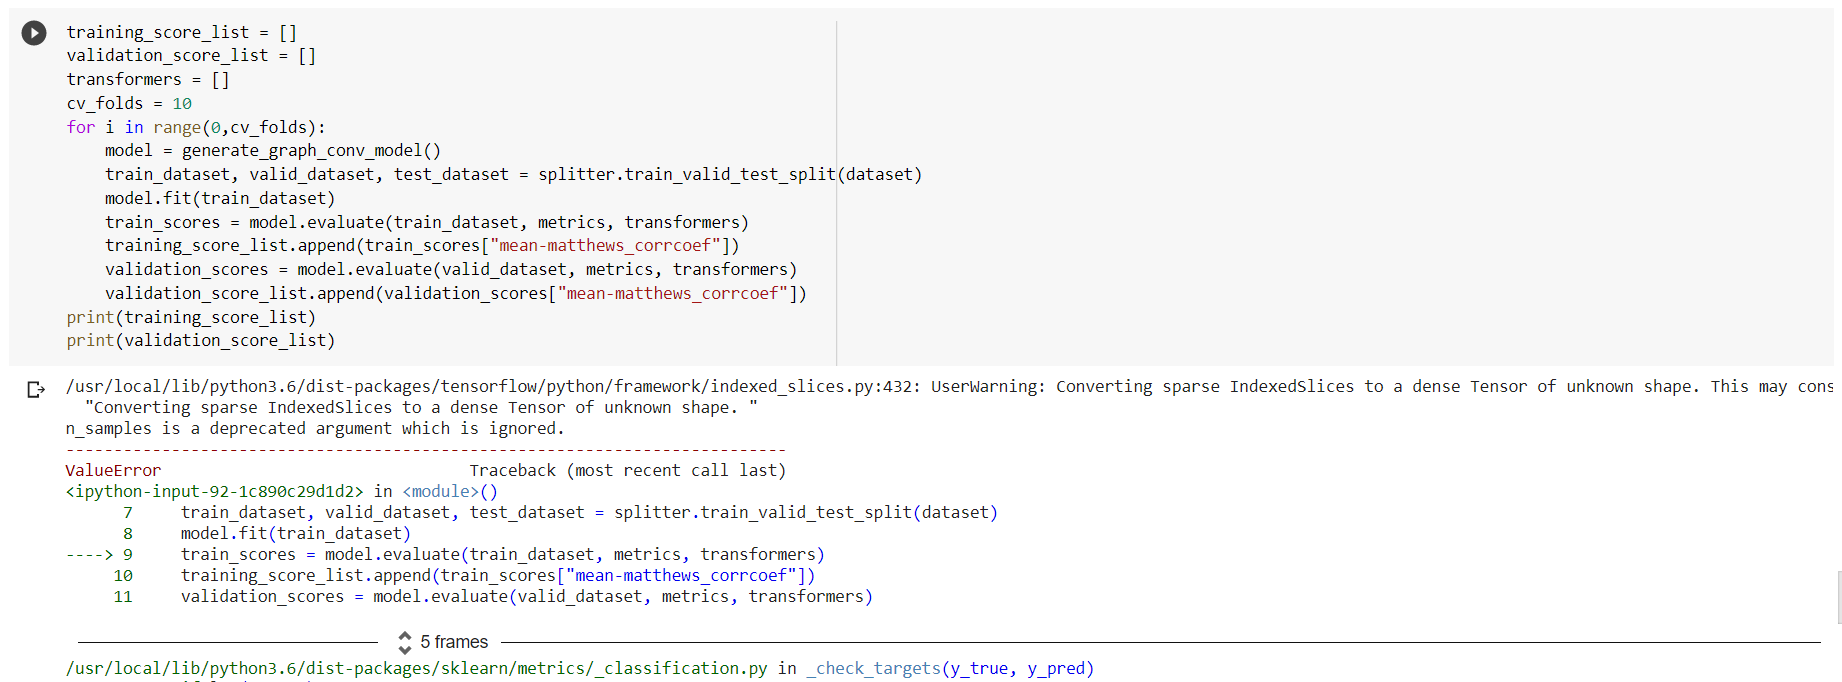
 Any idea why this error is coming ? Please suggest where i can find entire code is running in any correct environment …