
As DeepChem development has picked up again over the last few months, we’re starting to see more folks building projects with DeepChem. We’ve put together a series of resources for users on running DeepChem on Colab (Getting DeepChem running in Colab, Running DeepChem HEAD in Colab, Featurize and Save MoleculeNet Datasets to Google Drive with Colab) which should help users looking to experiment with DeepChem.
However, if you’re building larger applications with DeepChem, you might find that Colab isn’t a suitable tool for continued work with the timeout limits. Luckily, Amazon’s Sagemaker provides a powerful set of resources for launching “Notebook Instances.” These notebook instances function a lot like Colab, but have the powerful advantage that you can control when the notebook instance times out.
To create a Notebook instance, log in to your Amazon AWS console and go to Sagemaker. When there, click on create new GPU instance. You’ll be taken to a screen as follows.
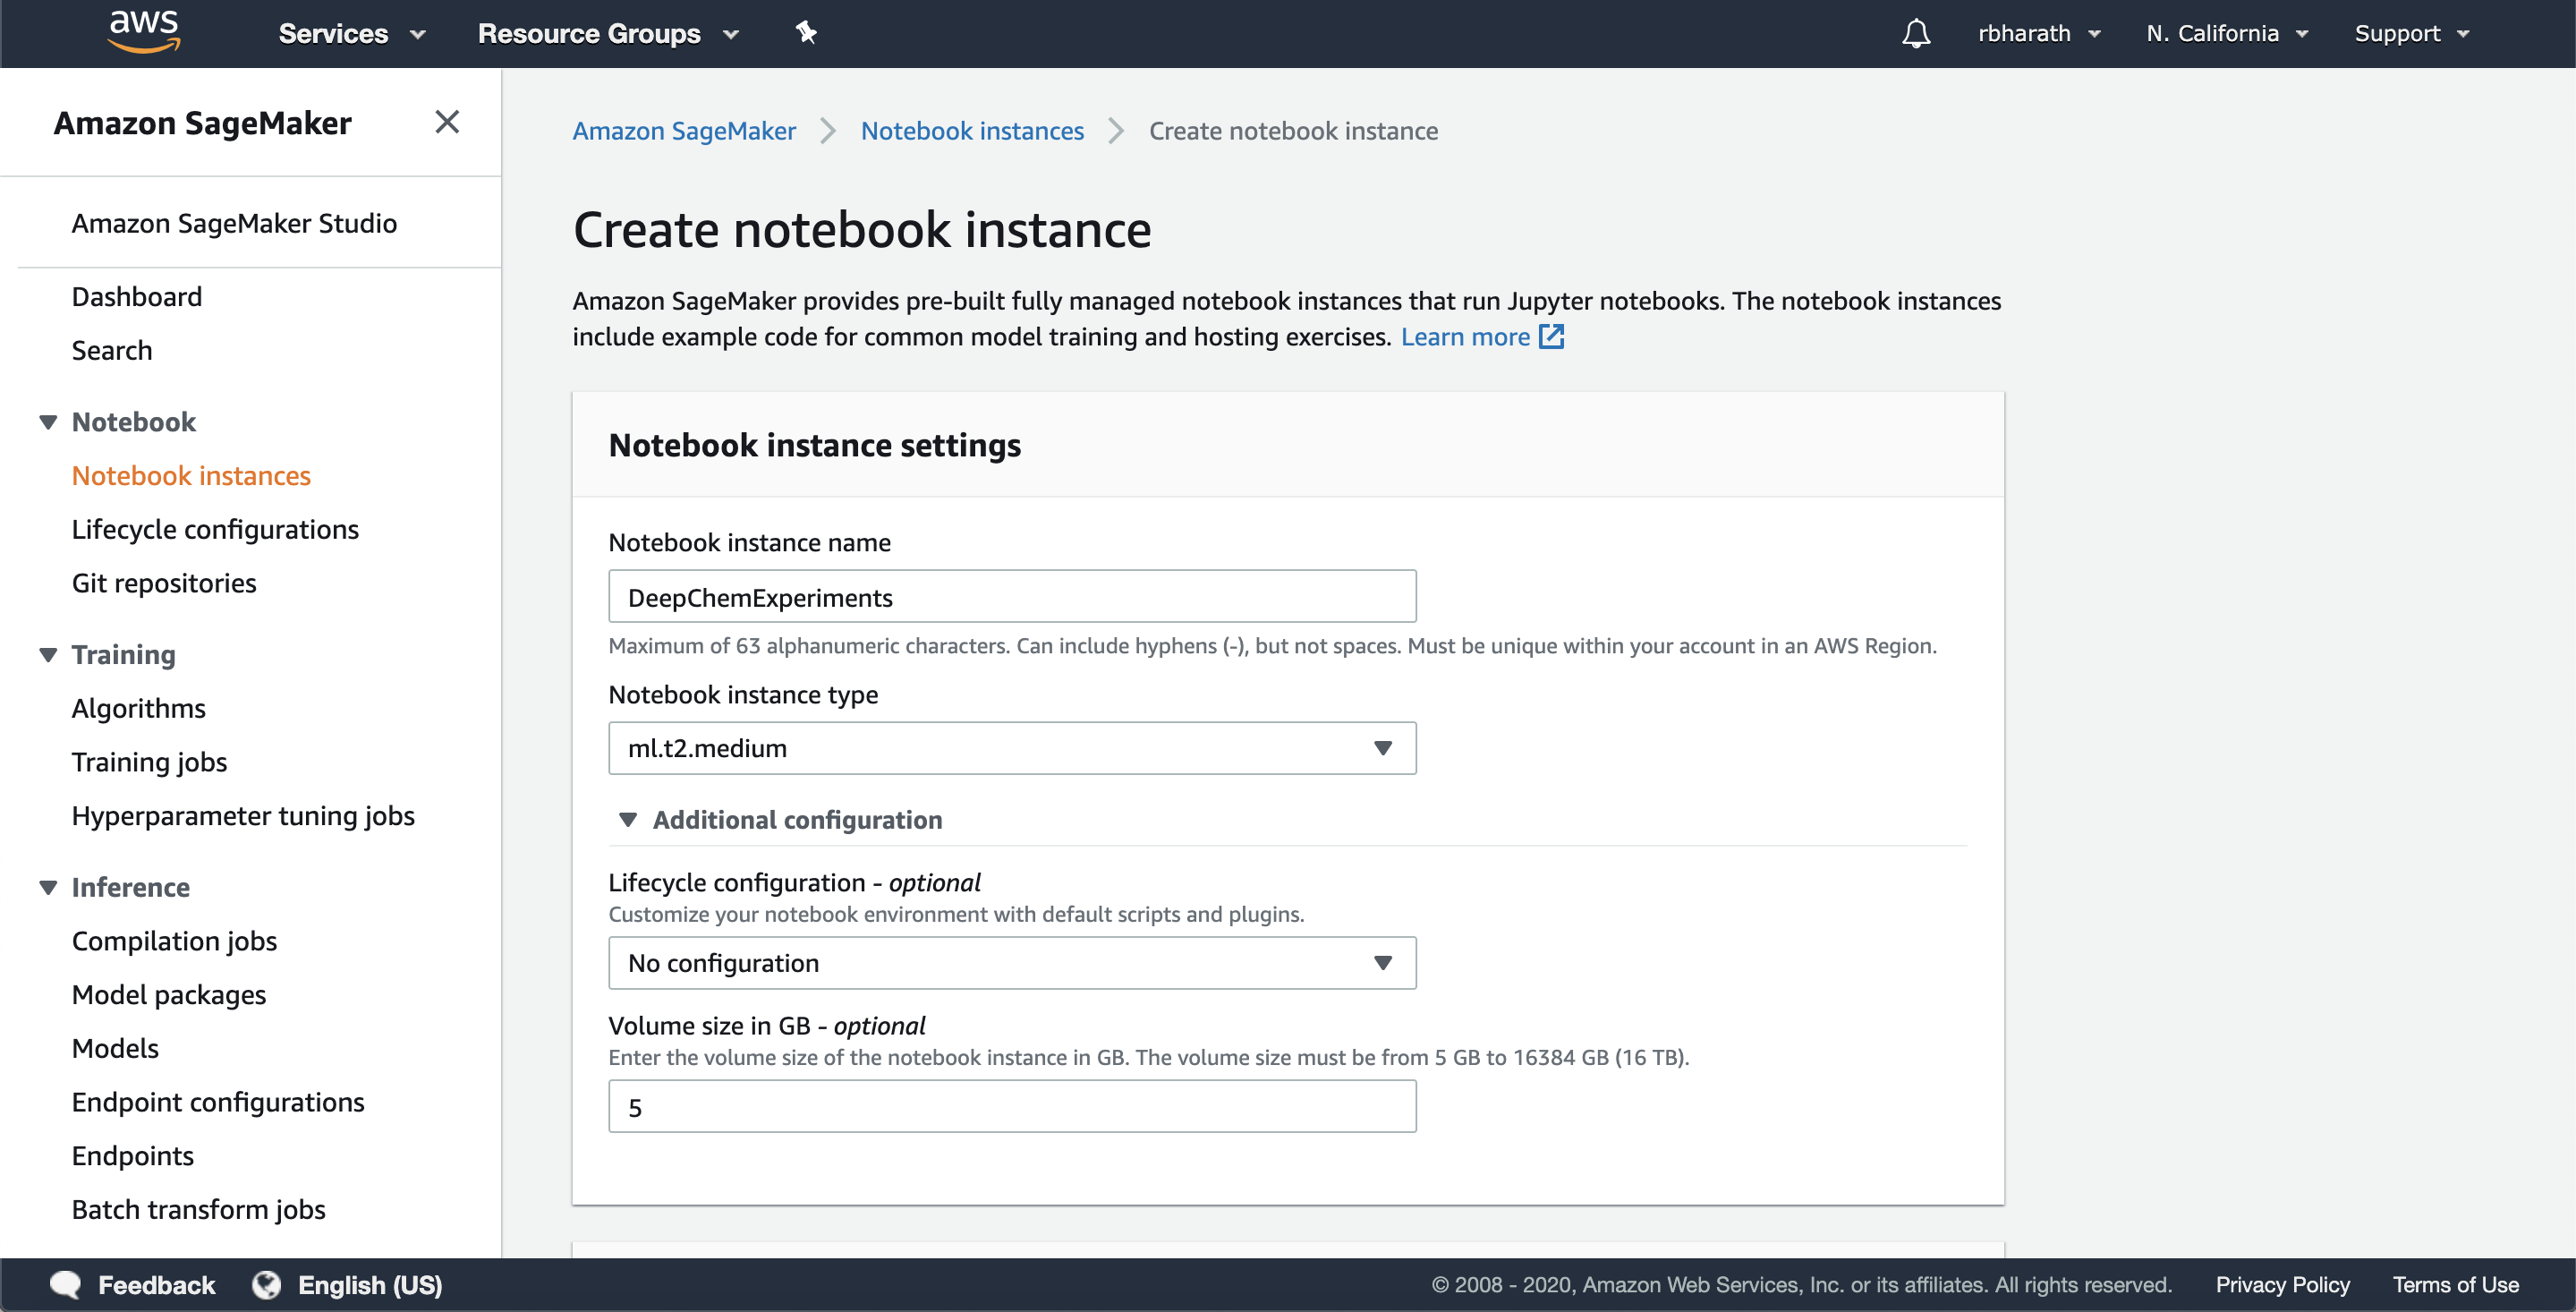
The notebook instance is backed by an AWS instance. Amazon has a whole collection of instance types (see list). We’re going to use this instance for basic experimentation, so we’ve chosen to use a ml.t2.medium instance which doesn’t have a GPU. You’ll then be taken to the following screen
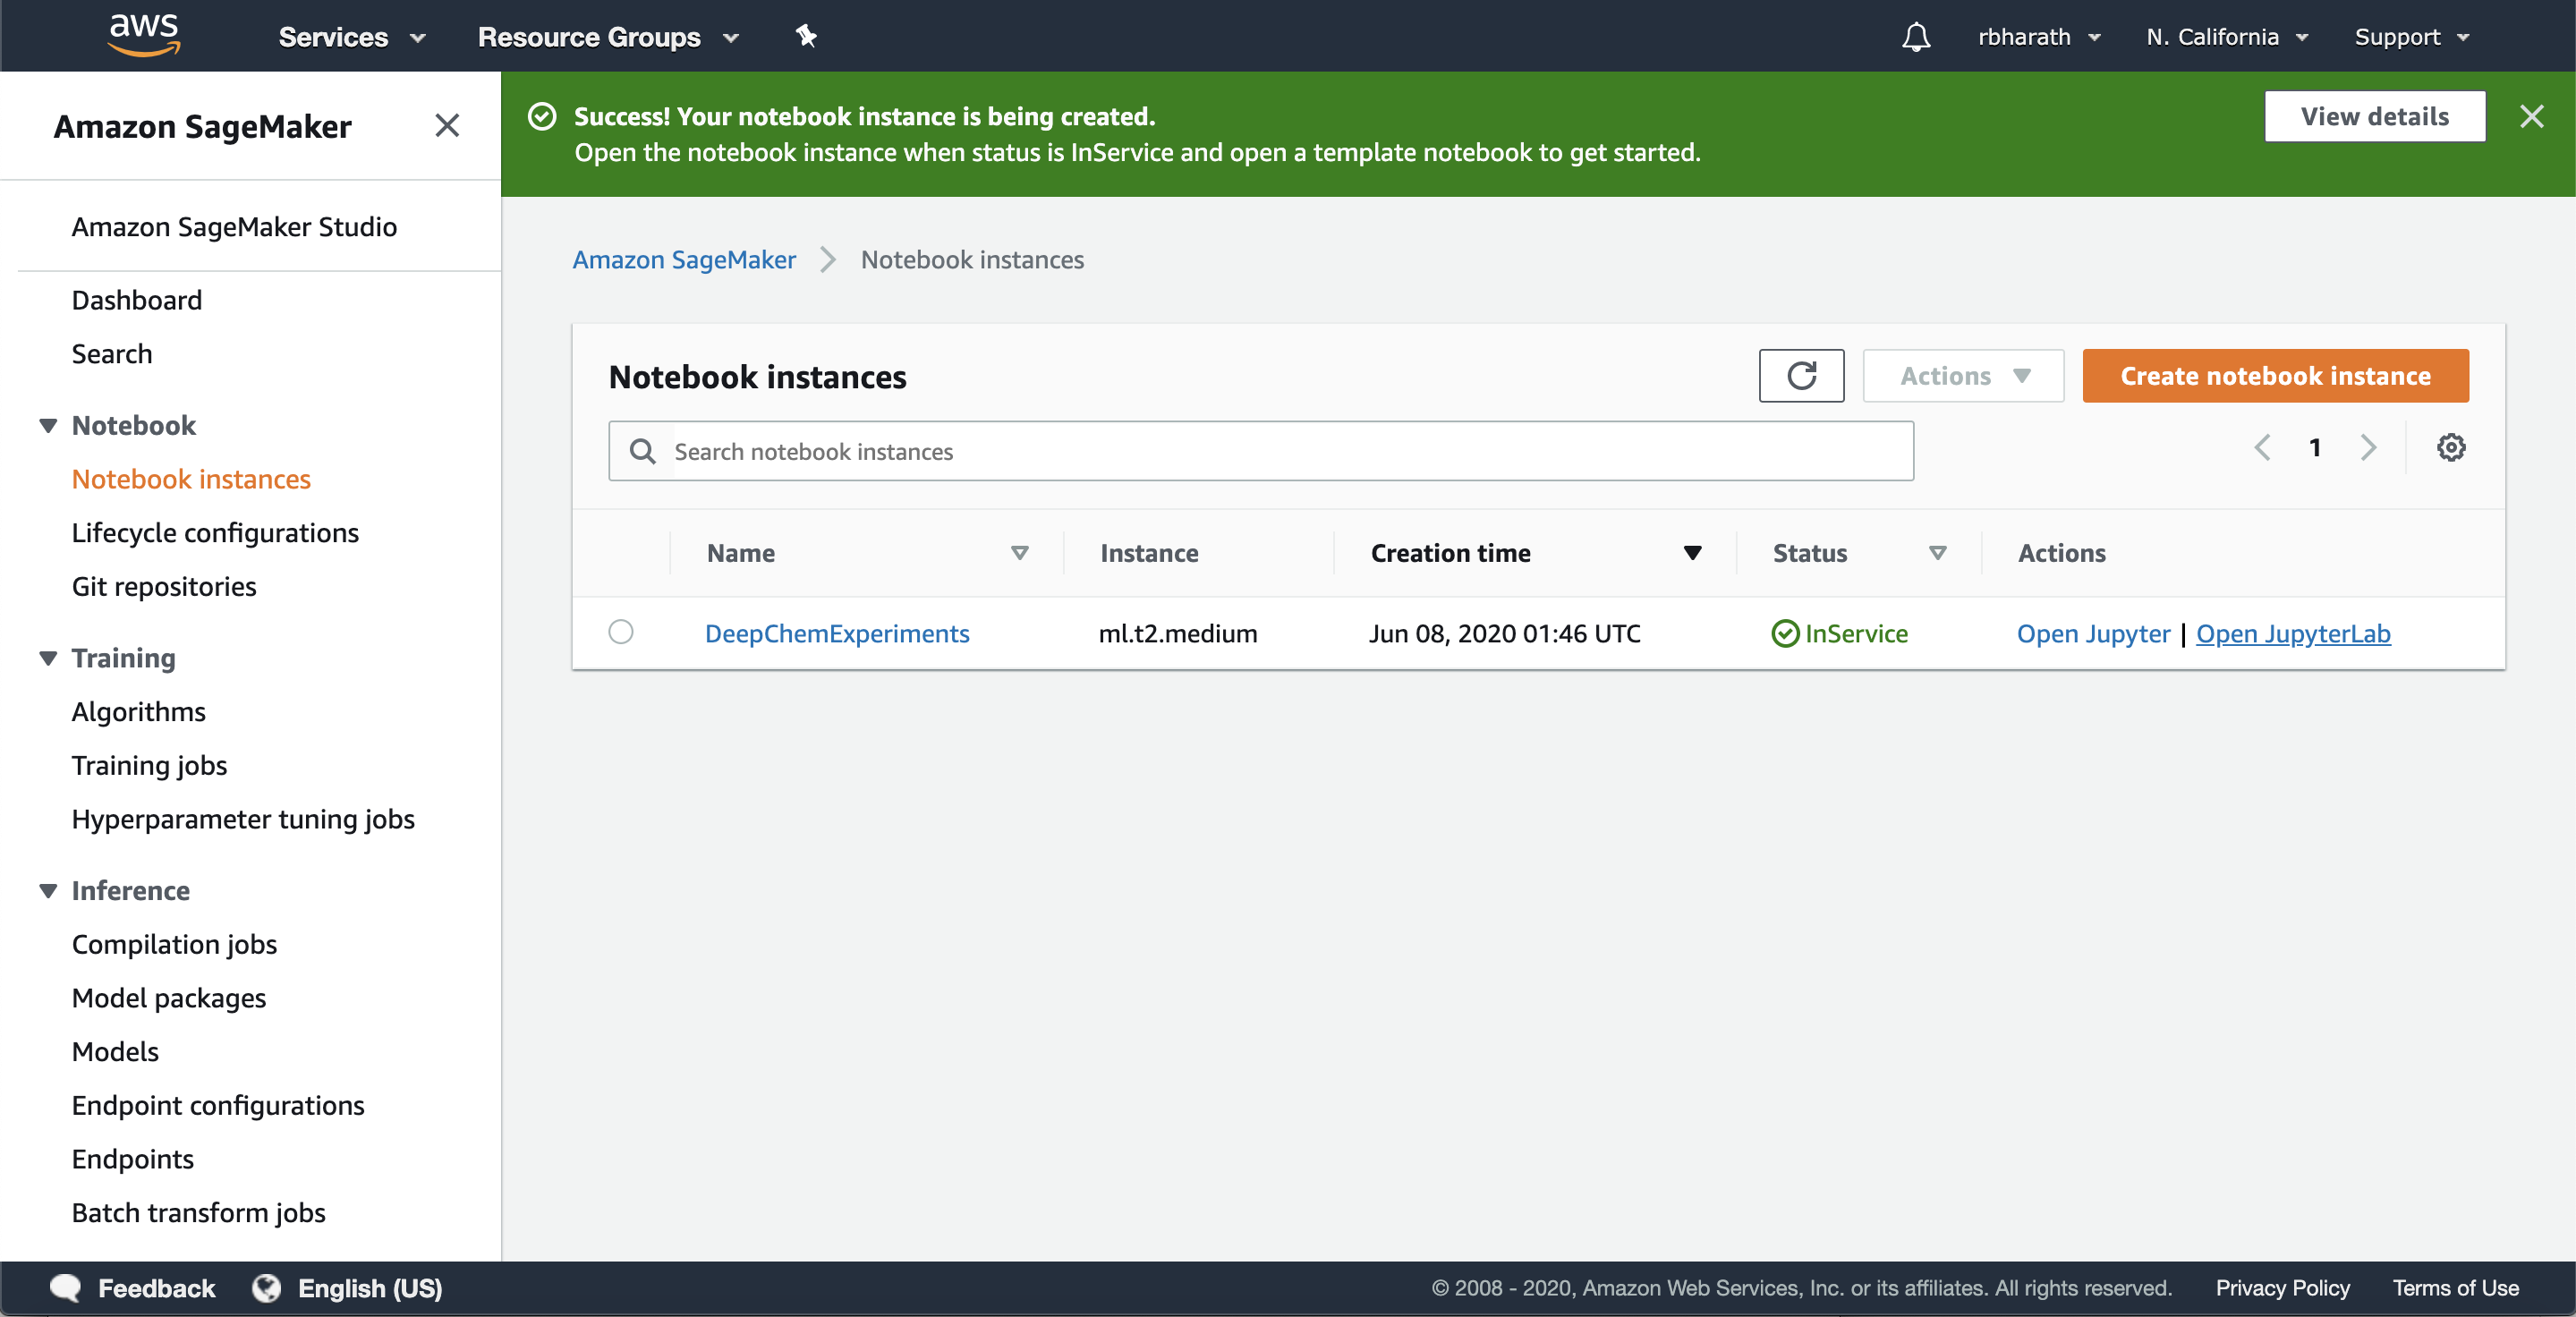
(Note that it might take a few minutes for your instance to start up.) Once the instance is running, let’s open it in JupyterLab. JupyterLab is a powerful IDE for developing ML models. Sagemaker has native JupyterLab integration and allows you to launch models in JupyterLab. Click the “Open JupyterLab” button. You’ll be taken to the notebook launcher page.

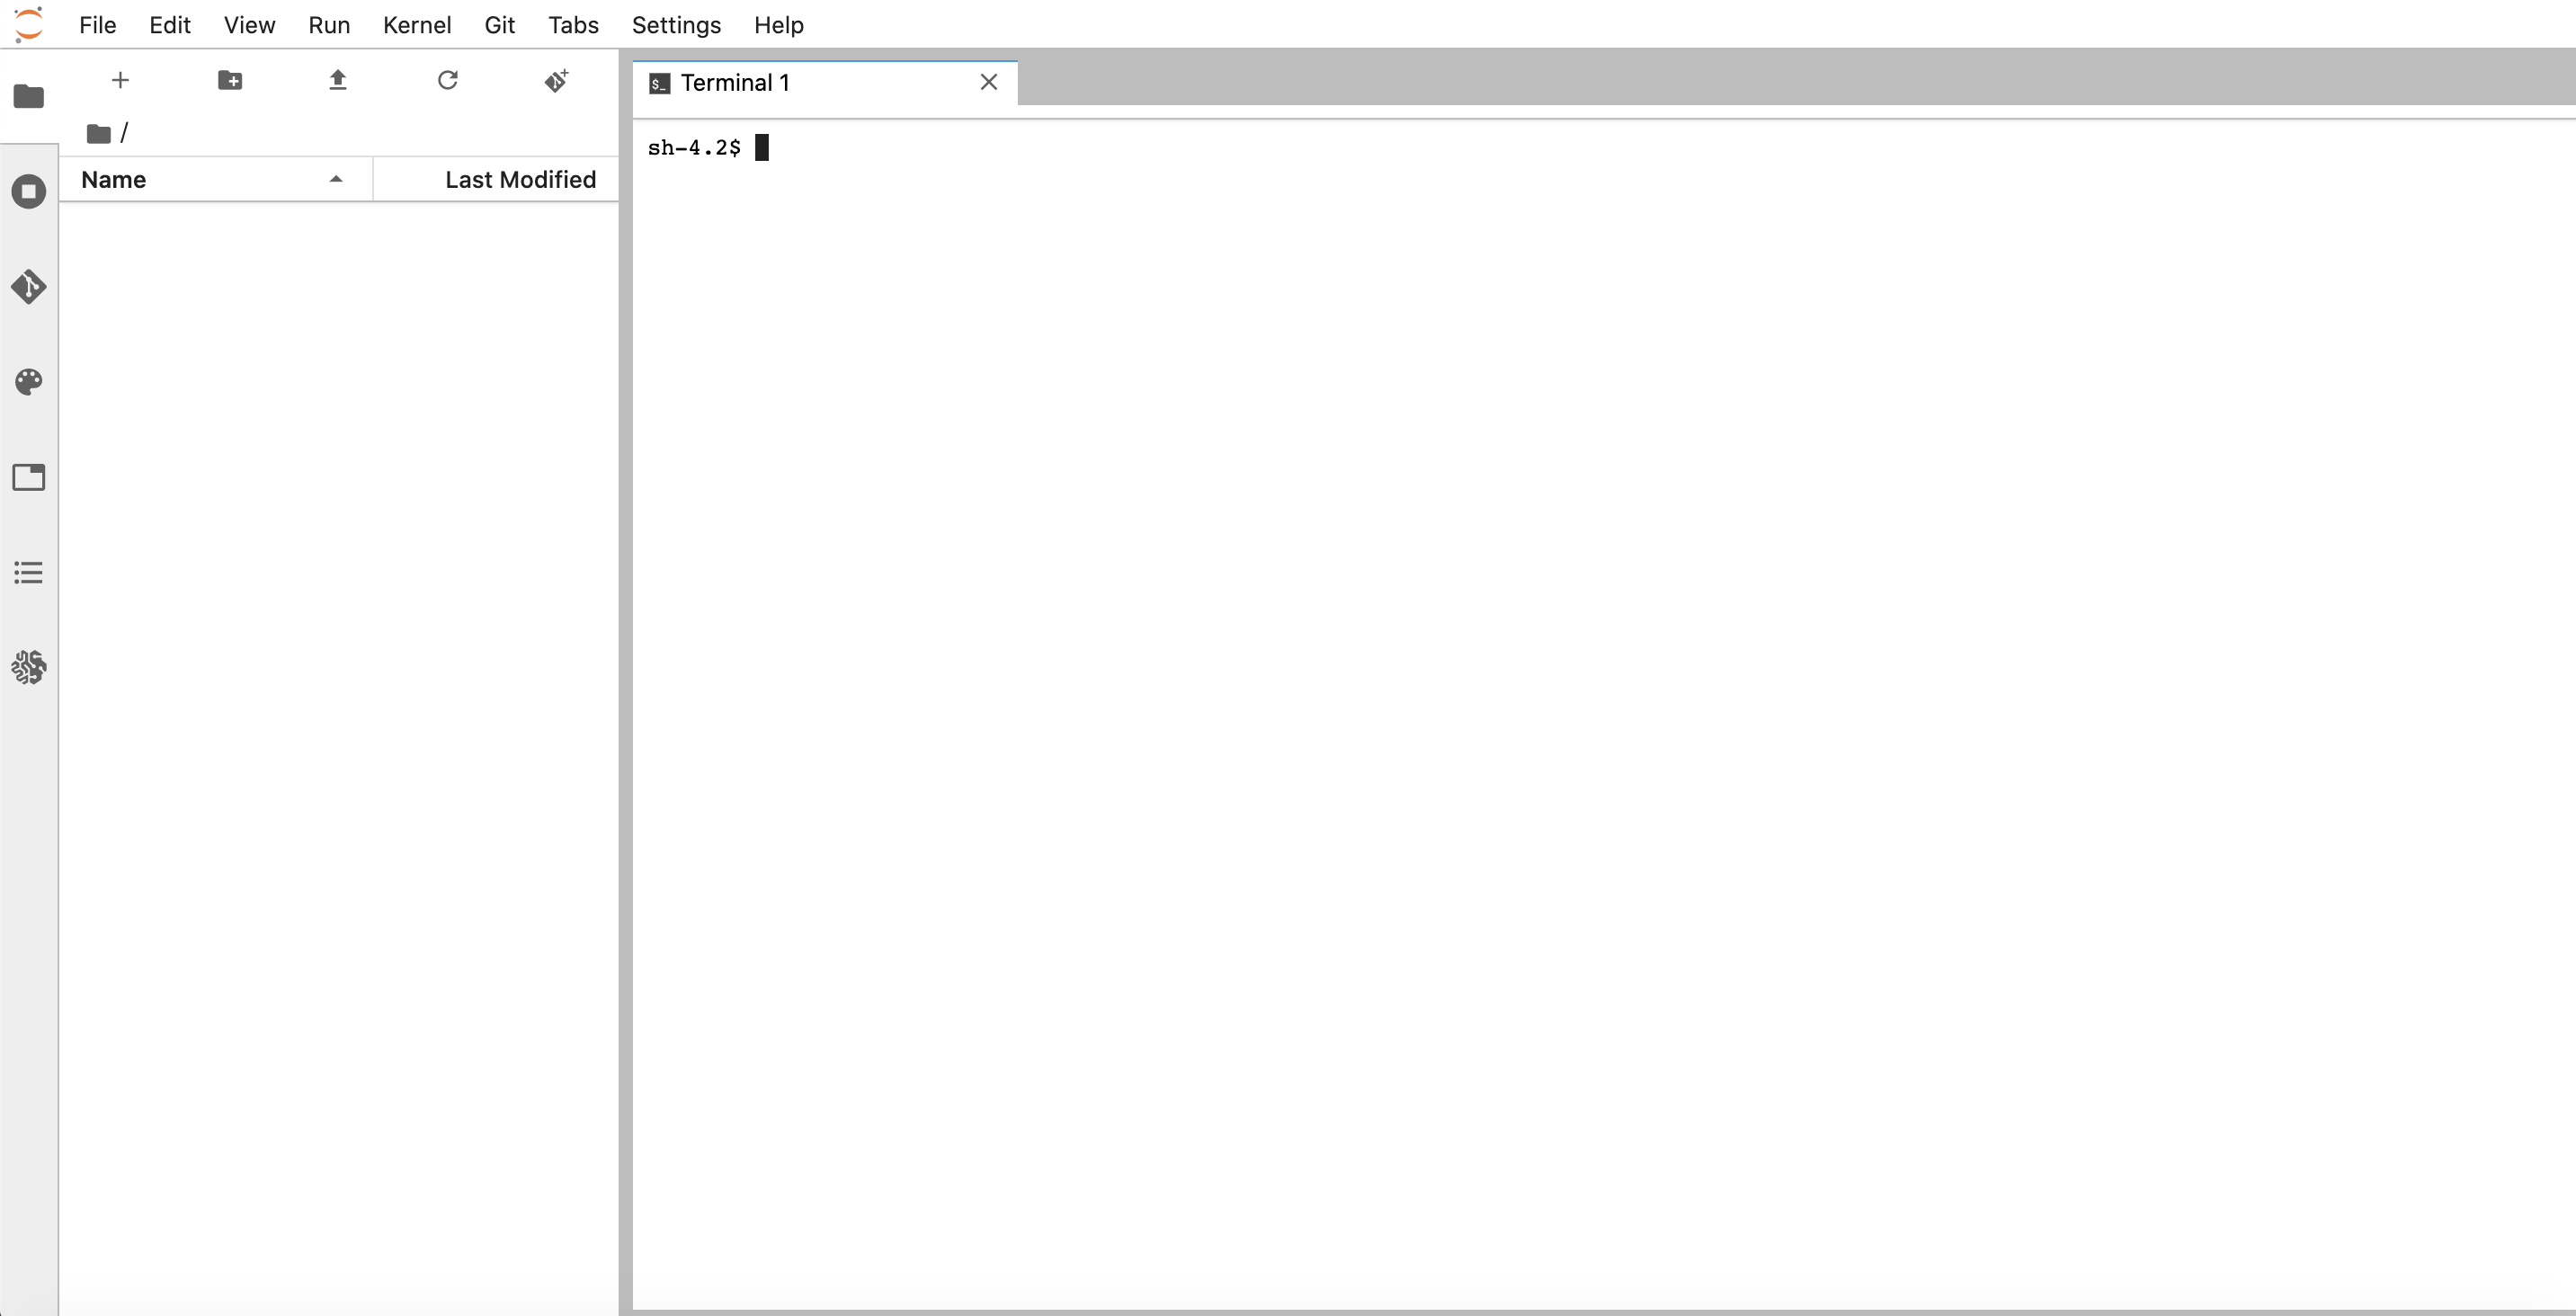
There are a variety of kernels pre-installed that you can select. For our purposes, let’s open a Terminal tab.
In this terminal, download and install Miniconda with the following commands:
wget -c https://repo.anaconda.com/miniconda/Miniconda3-latest-Linux-x86_64.sh
chmod +x Miniconda3-latest-Linux-x86_64.sh
bash ./Miniconda3-latest-Linux-x86_64.sh
Go through the initialization script. At the tend you’ll have a local running install of Miniconda. It’s now time to install DeepChem. Let’s first configure our shell to set up conda activate correctly. Run
echo "conda activate" >> ~/.bashrc
source ~/.bashrc
Your prompt should now look like
(base) [ec2-user@ip-172-16-53-131 ~]$
with the (base) at front. Now let’s create a new conda environment for deepchem.
conda create -n deepchem
Then let’s activate this environment
conda activate deepchem
Your prompt should now look like
(deepchem) [ec2-user@ip-172-16-53-131 ~]$
Ok, we’re now in our DeepChem environment. Let’s install the latest stable version of DeepChem in this environment.
conda install -c deepchem -c rdkit -c conda-forge -c omnia deepchem
This will take a couple minutes to install. The default deepchem conda build doesn’t include TensorFlow, so we’ll need to install that as well.
pip install tensorflow
(At time of writing, the last stable release is 2.3.0 which requires TF 1.14 so you’d need to run
pip install tensorflow==1.14
We’re planning the next release shortly so you’ll no longer need to do this after that release is out.) Let’s now open python and check that we can import DeepChem
(deepchem) [ec2-user@ip-172-16-53-131 ~]$ python
Python 3.6.10 | packaged by conda-forge | (default, Apr 24 2020, 16:44:11)
[GCC 7.3.0] on linux
Type "help", "copyright", "credits" or "license" for more information.
>>> import deepchem as dc
If you’ve followed along correctly, you should be all set to develop programs in terminal. How can we use this environment in a Jupyter notebook though? Well for that, we’ll need to create a ipython kernel. Let’s first install ipykernel which we’ll need to create a new kernel:
conda install ipykernel
Let’s then create a kernel tied to our deepchem conda environment
python -m ipykernel install --user --name=deepchem
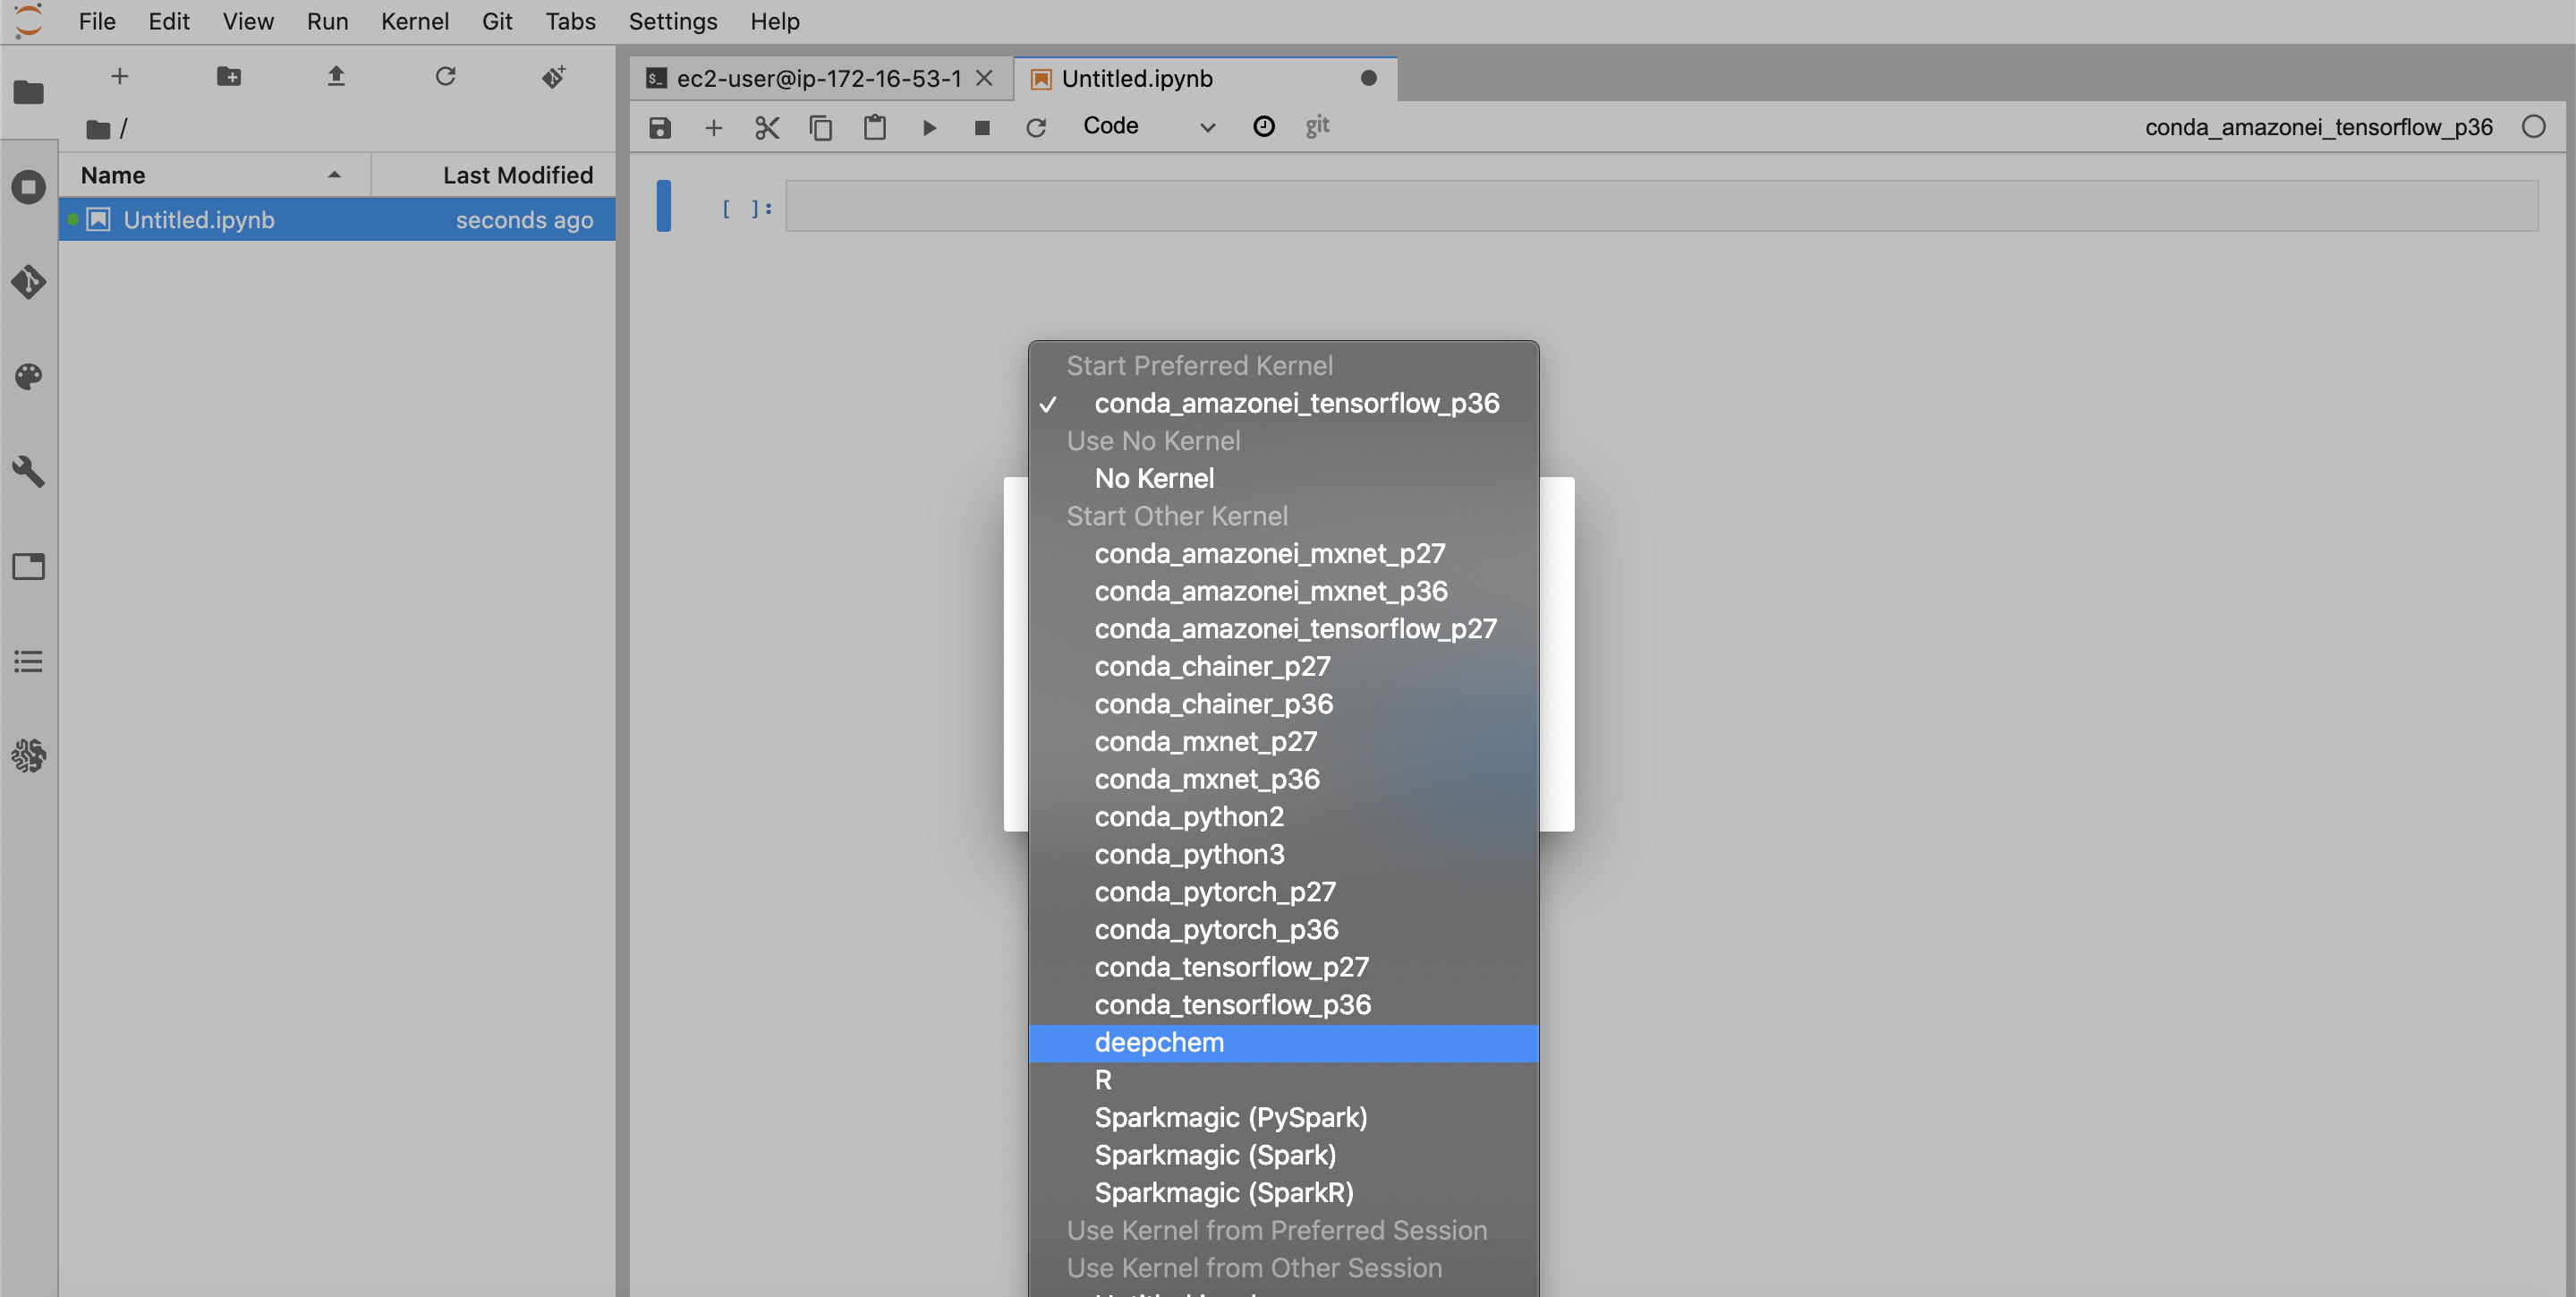
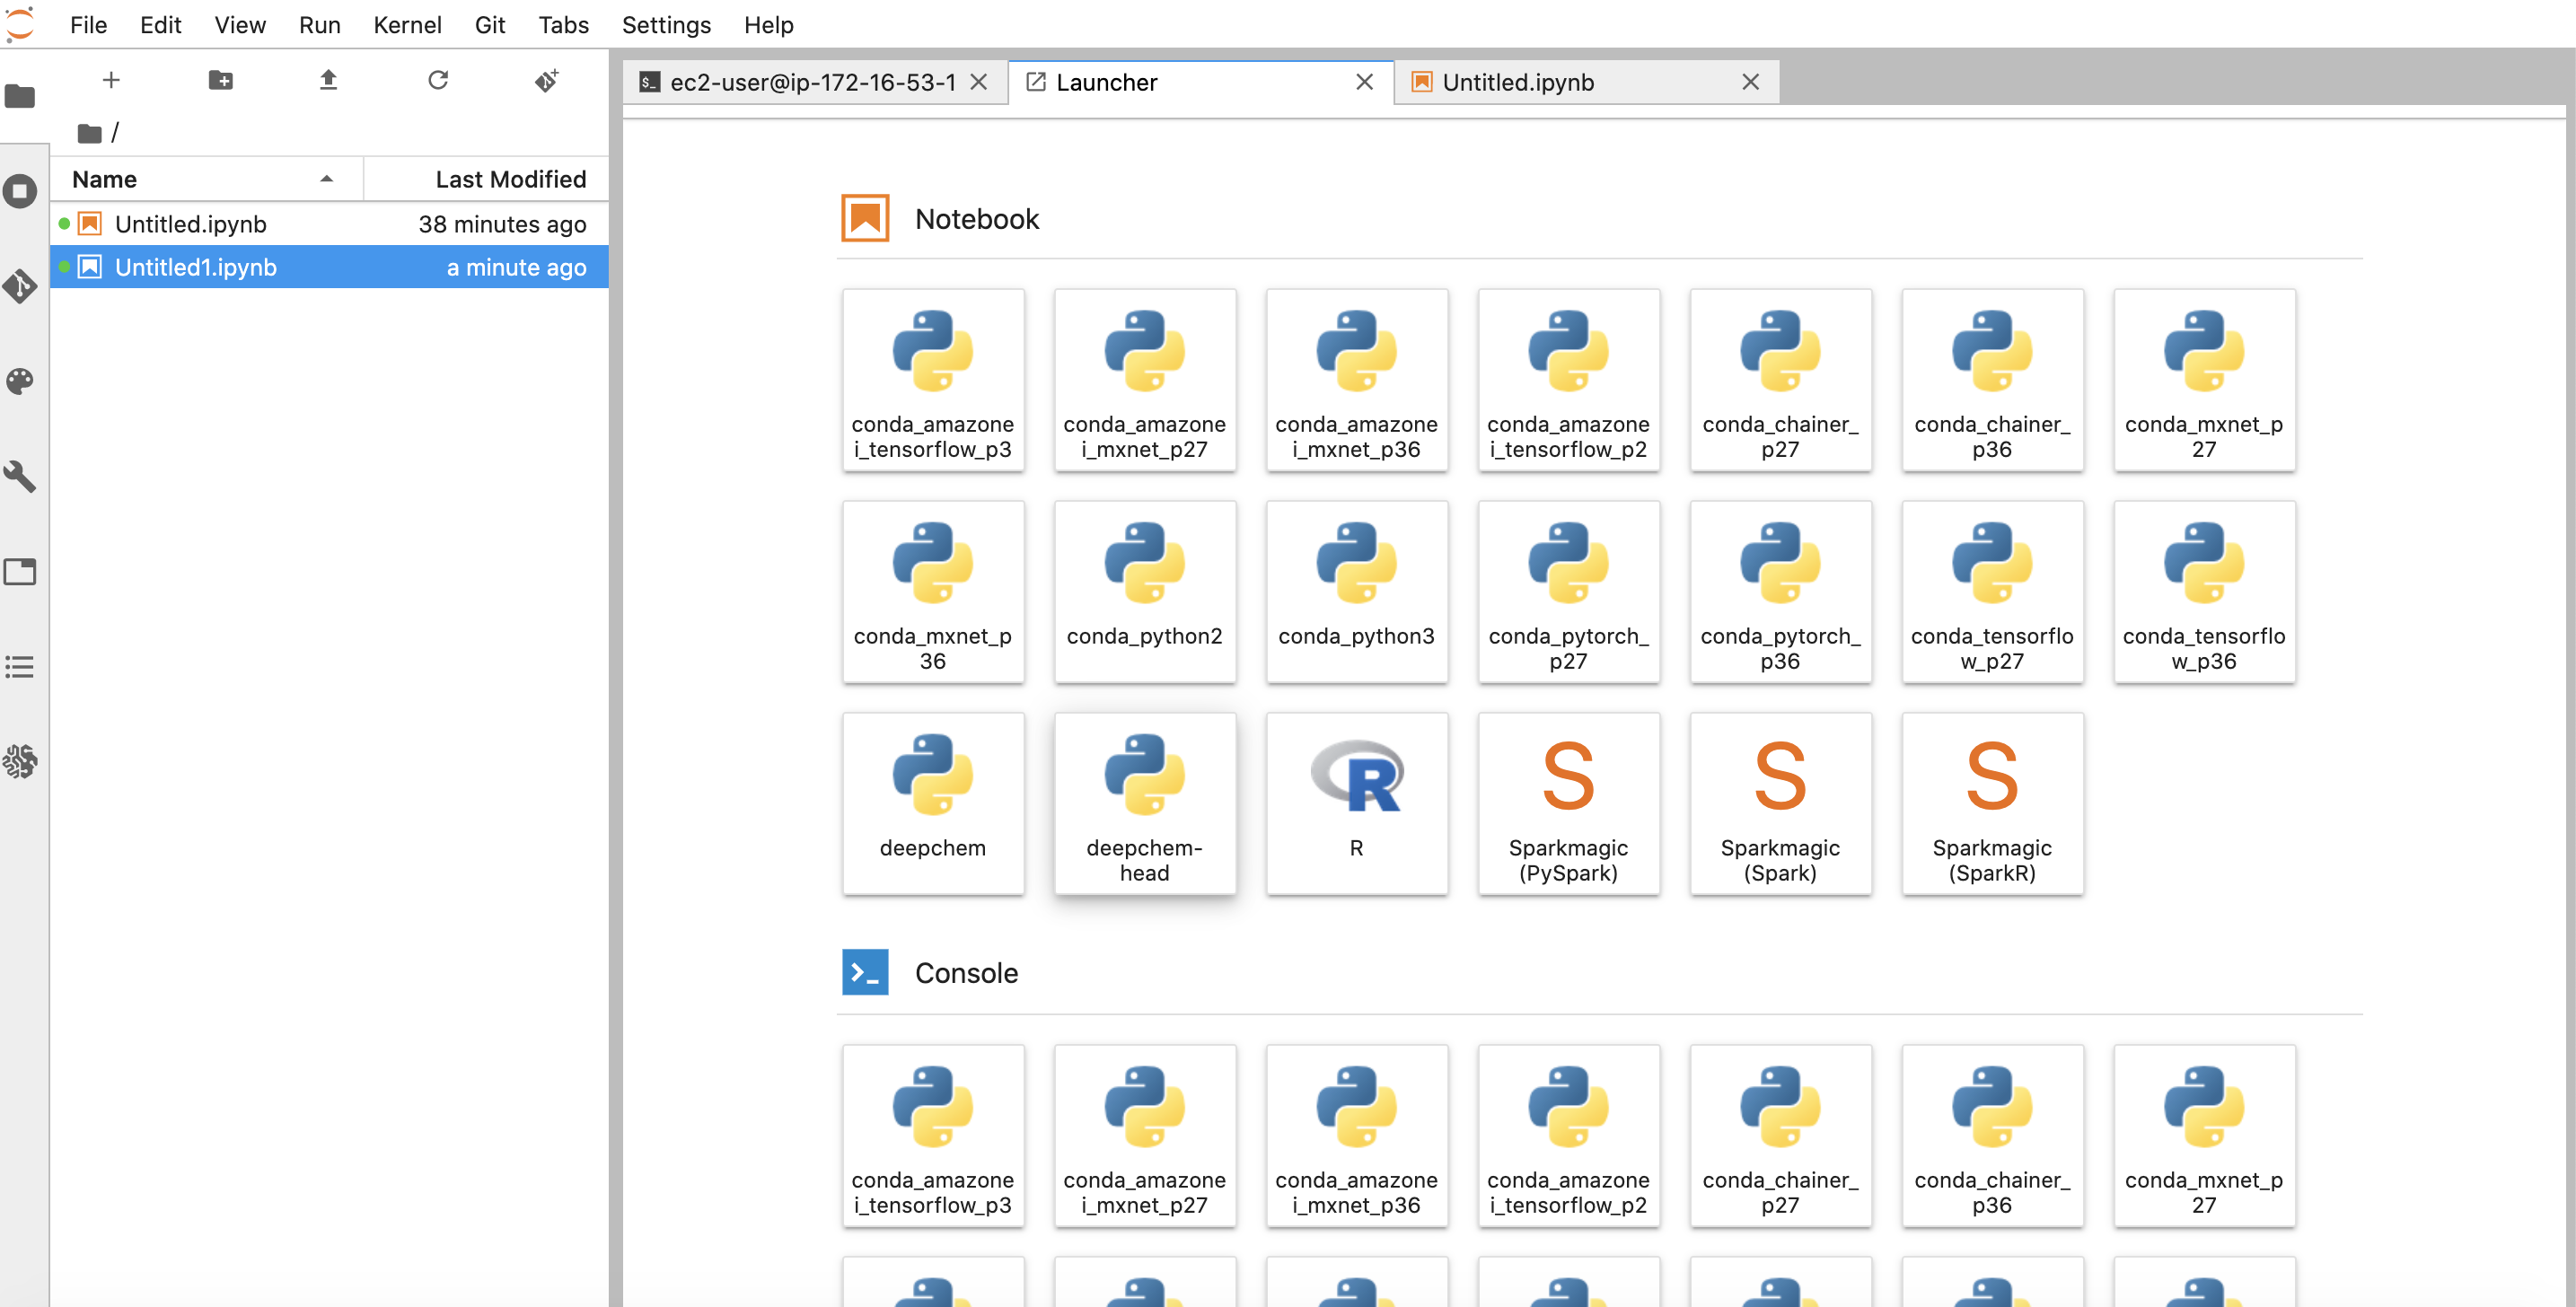
Let’s now open a new tab for a notebook. Your created kernel should eventually show up in the Jupyterlab list of available kernels, but sometimes takes time to do so. If you don’t see the kernel, instead just pick any of the provided kernels. Then once the notebook has started, go to the “Kernel” menu bar option, and click “Change Kernel”. You should then be able to select the “deepchem” kernel as shown here:
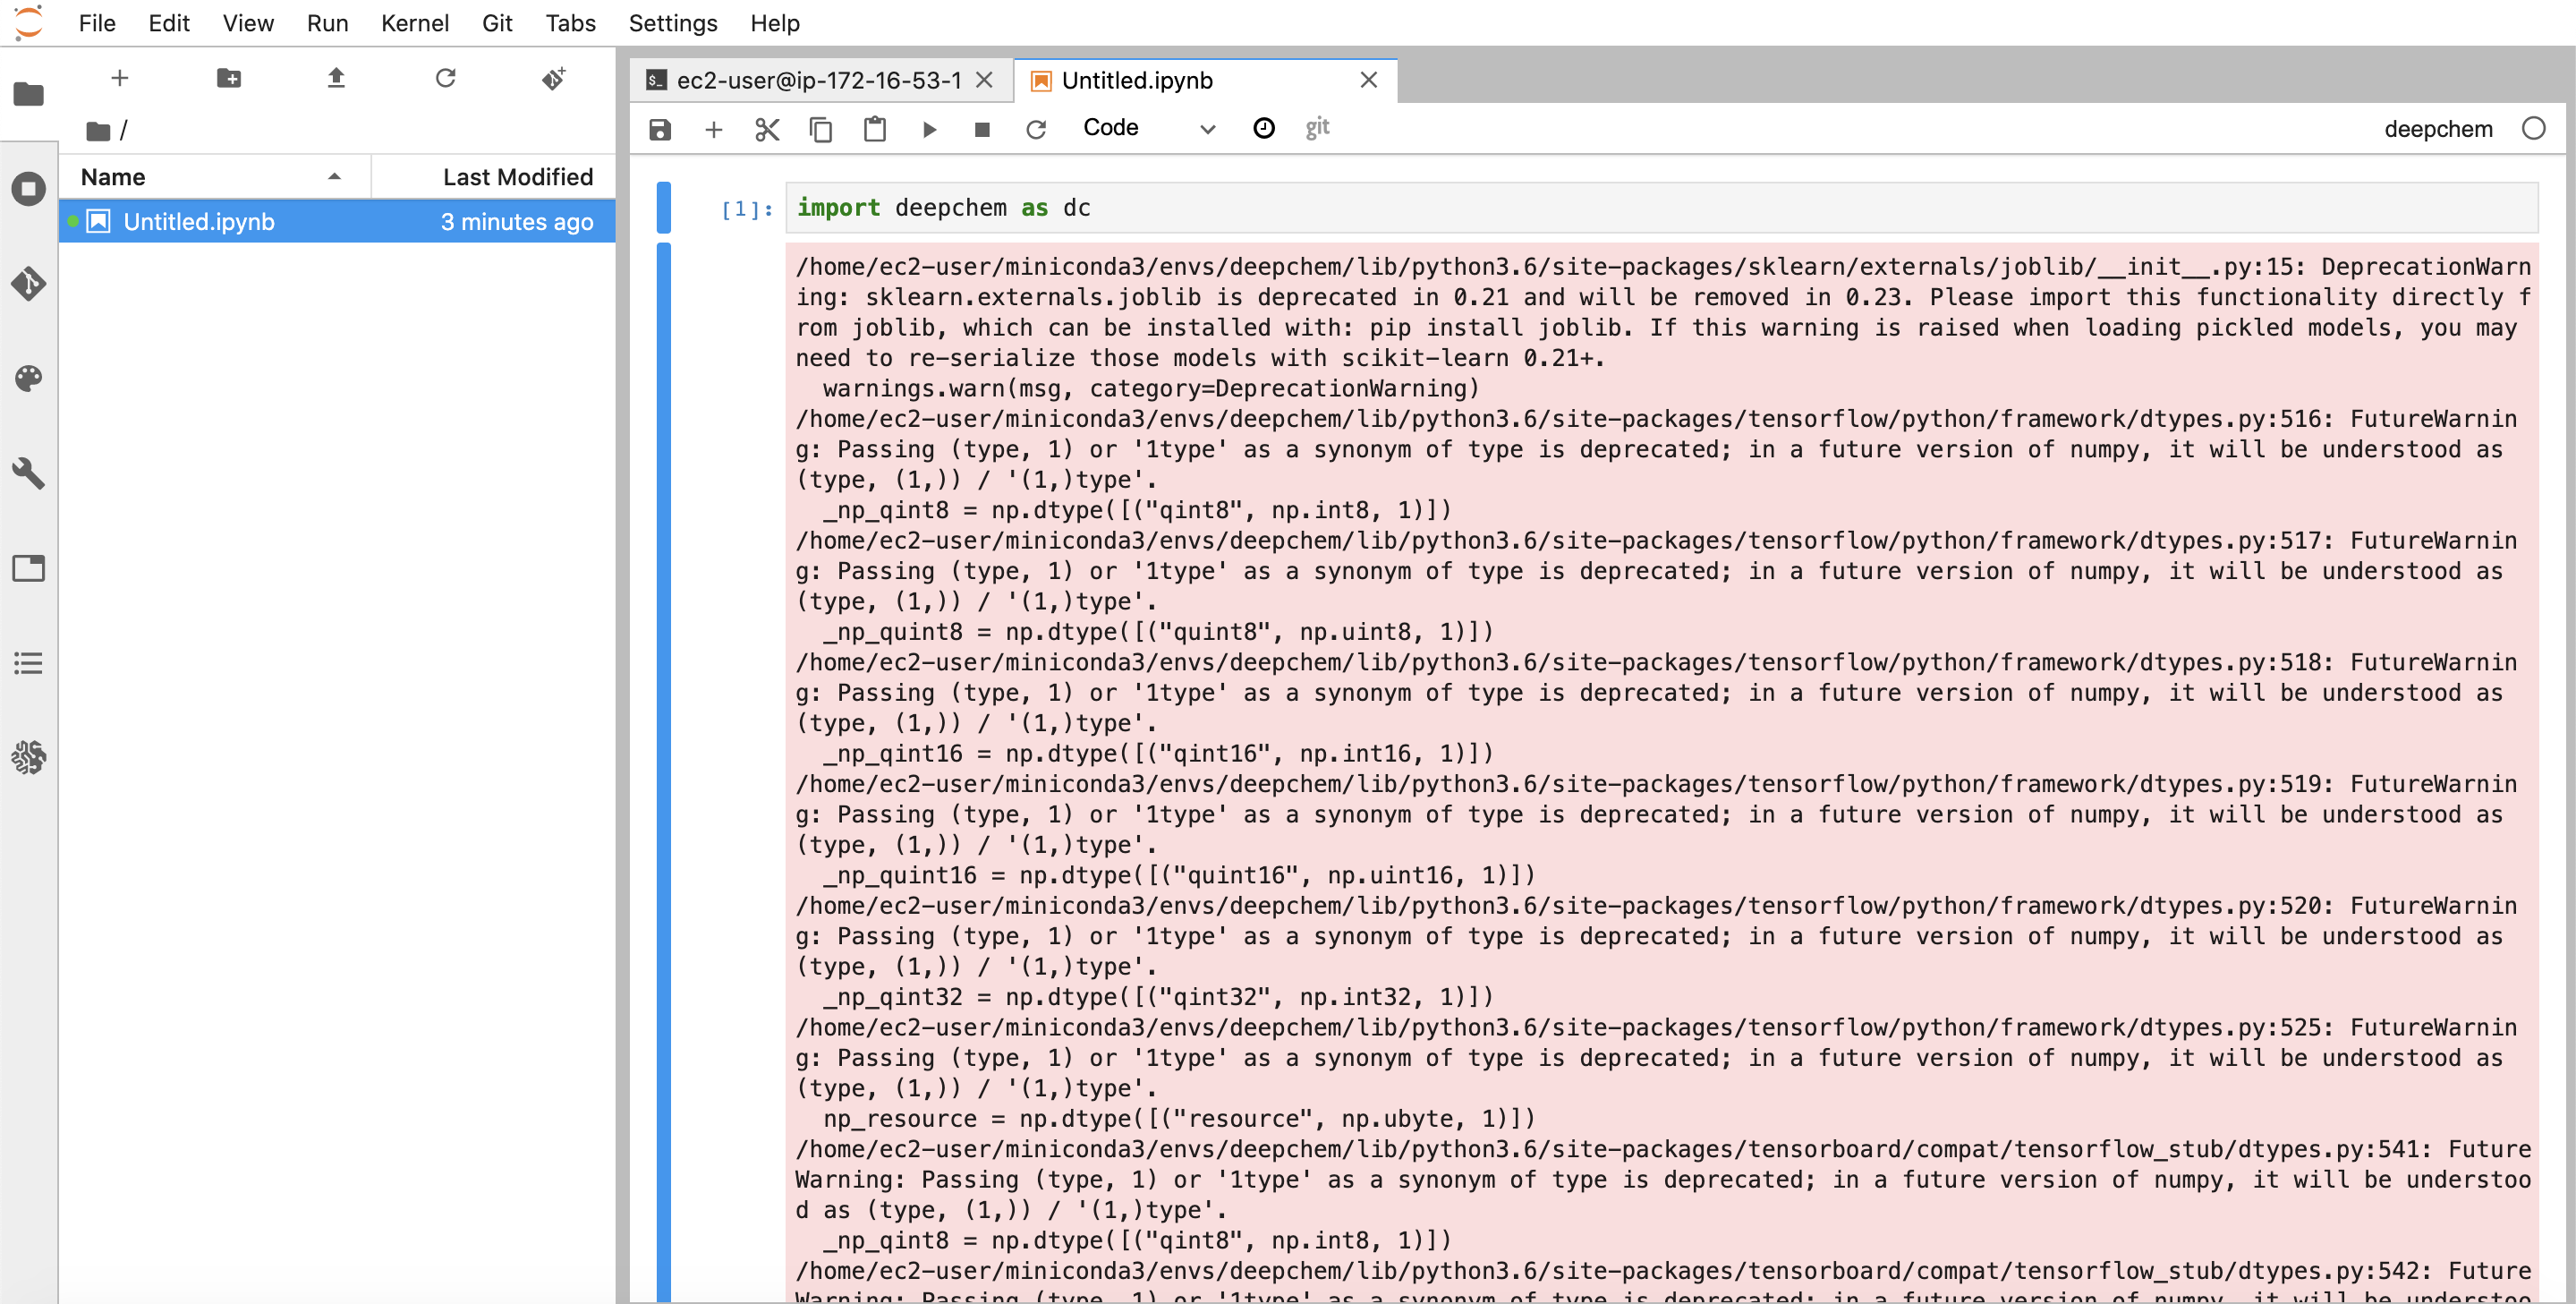
You should now be able to import deepchem in your notebook (the warnings are an artifact of deepchem 2.3.0 and will be gone in future versions)
You’re now all set to develop! Let’s do one more exercise. Let’s say we want to use DeepChem HEAD for our development work. If you’re an active DeepChem user, you might find that you need some new features from HEAD. Let’s go back to the terminal tab and deactivate the deepchem environment
conda deactivate
Let’s now make a new environment deepchem-head and activate it.
conda create -n deepchem-head
conda activate deepchem-head
Let’s check out a copy of the deepchem repo locally and step into it.
git clone https://github.com/deepchem/deepchem.git
cd deepchem
DeepChem at present doesn’t support Python 3.8, so we’ll need to downgrade to python 3.7
conda install python=3.7
Let’s now install the full set of dependencies we need to develop DeepChem (some of these are optional dependencies, but are recommended for developers at the cutting edge)
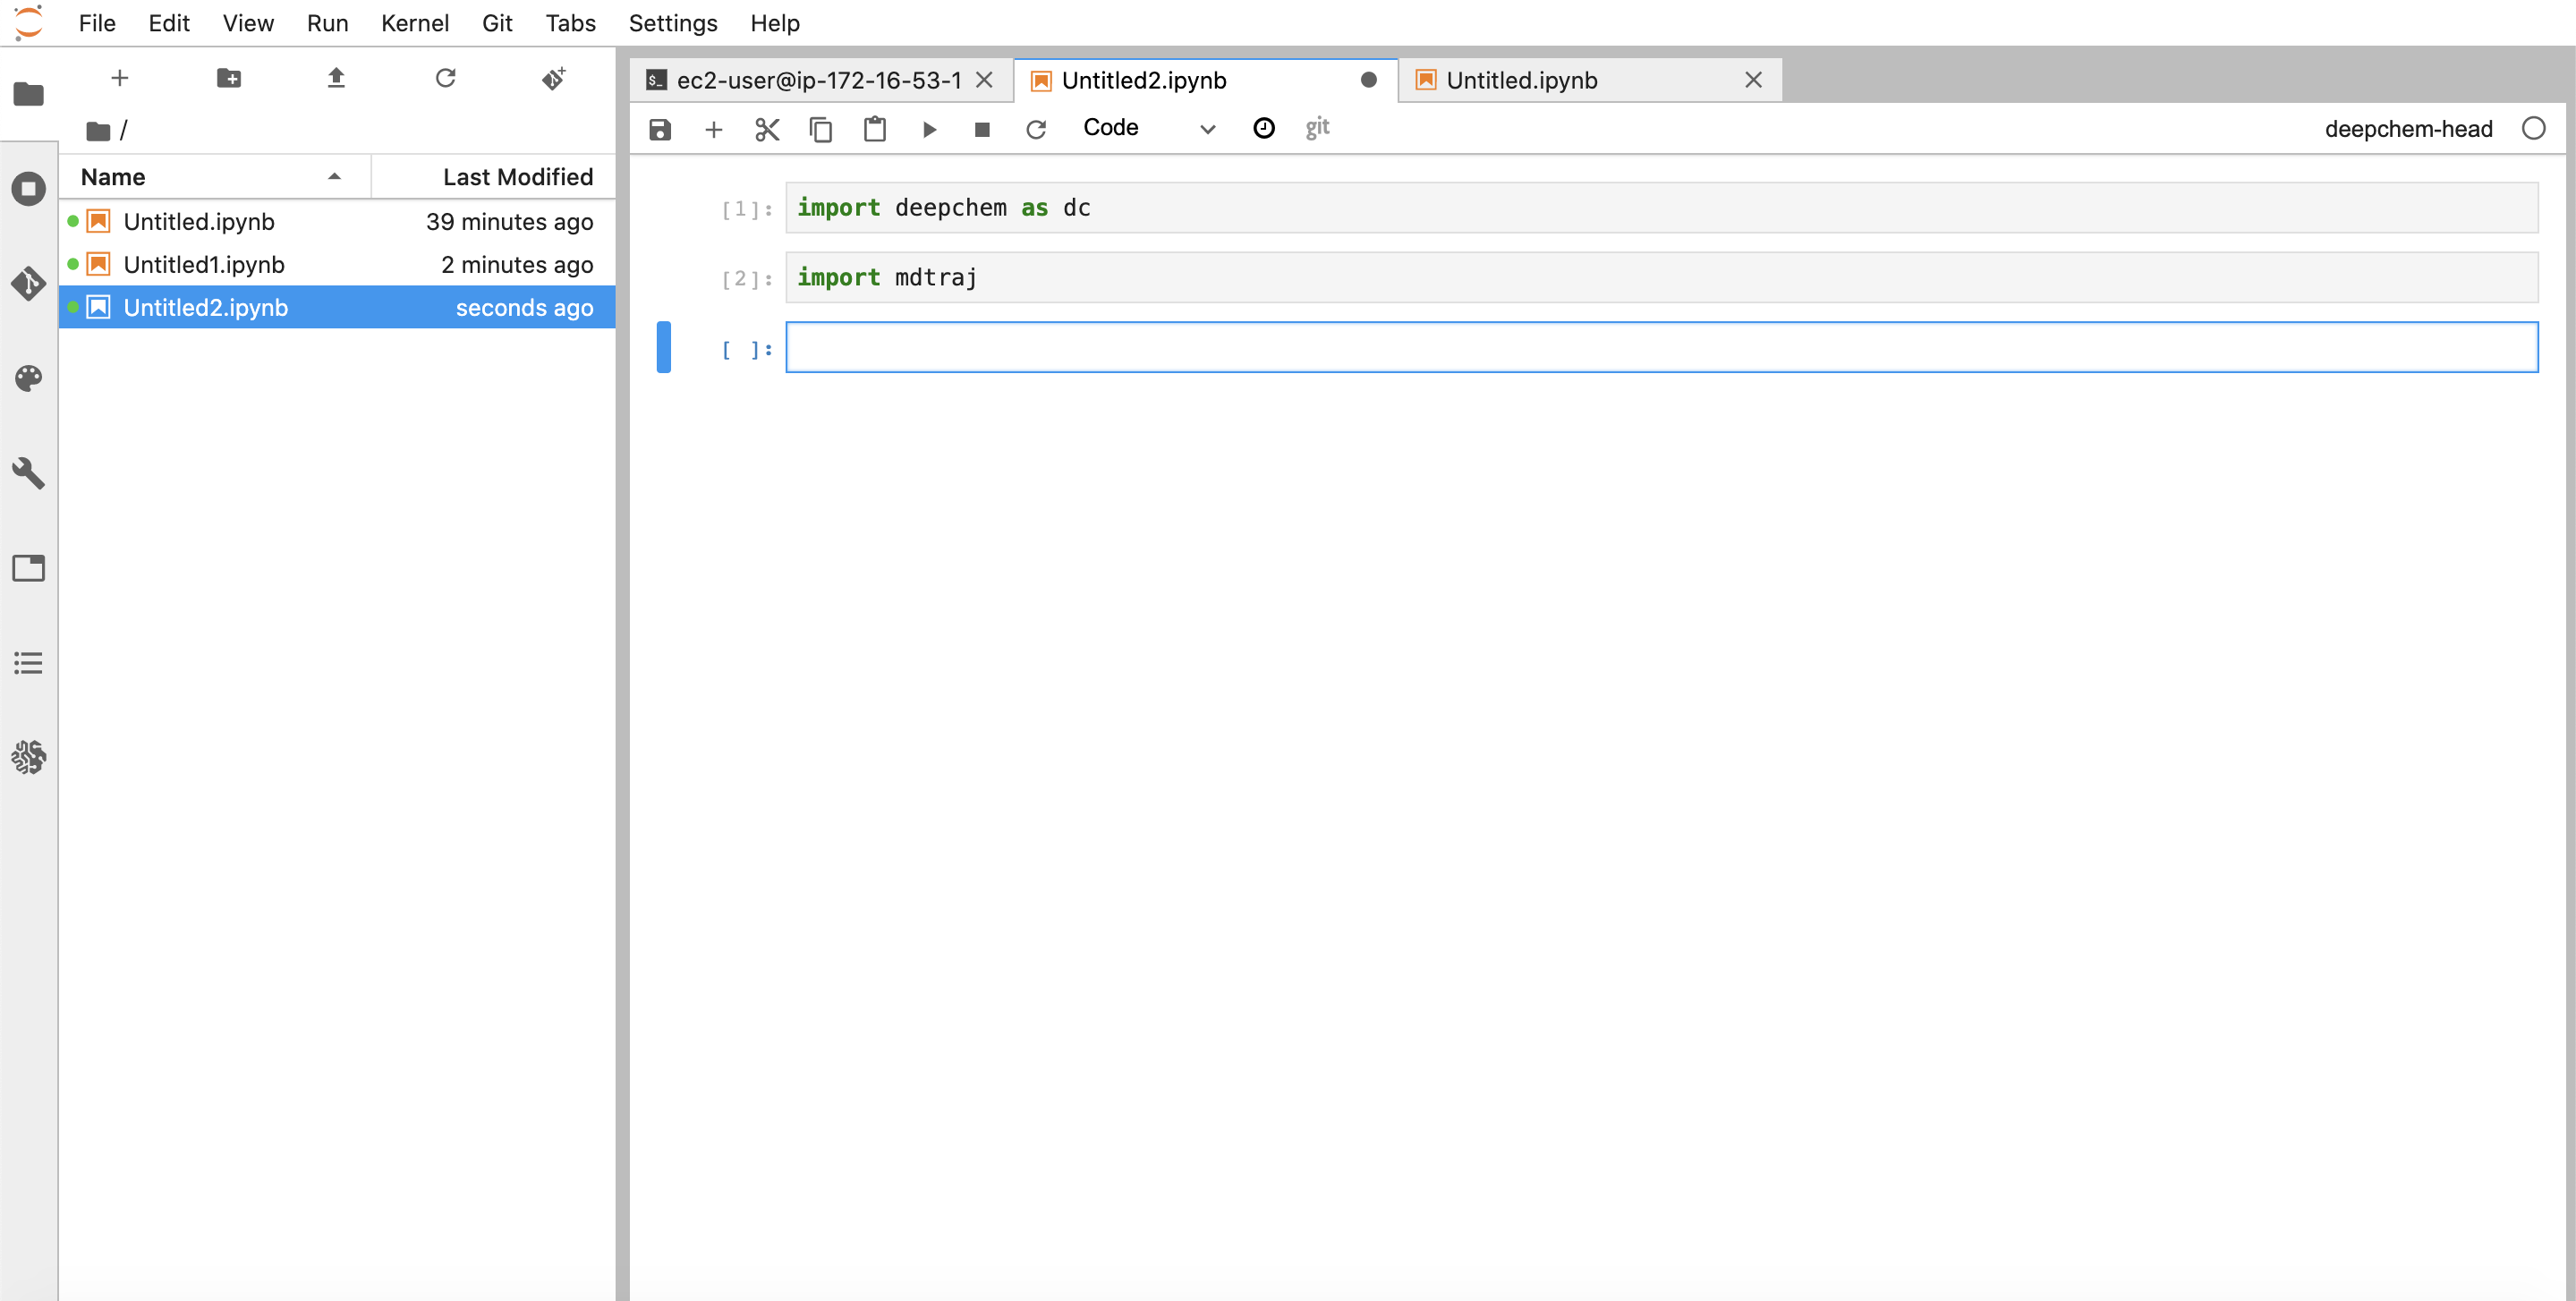
conda install -y -q -c deepchem -c rdkit -c conda-forge -c omnia mdtraj pdbfixer rdkit joblib scikit-learn networkx pillow pandas pytest pytest-cov flaky zlib py-xgboost simdna setuptools biopython numpy
pip install tensorflow tensorflow_probability
This will take a few minutes for conda to install. Let’s now do a quick sanity check that we can import rdkit
(deepchem-head) [ec2-user@ip-172-16-53-131 deepchem]$ python
Python 3.7.7 (default, May  7 2020, 21:25:33)
[GCC 7.3.0] :: Anaconda, Inc. on linux
Type "help", "copyright", "credits" or "license" for more information.
>>> import rdkit
Let’s now install deepchem
python setup.py install
Let’s now do a check that we can import deepchem
(deepchem-head) [ec2-user@ip-172-16-53-131 deepchem]$ python
Python 3.7.7 (default, May  7 2020, 21:25:33)
[GCC 7.3.0] :: Anaconda, Inc. on linux
Type "help", "copyright", "credits" or "license" for more information.
>>> import deepchem as dc
Let’s now make a new ipython kernel as before.
conda install ipykernel
python -m ipykernel install --user --name=deepchem-head
You can now open this kernel in your notebook as before
You can now get started with development
Happy hacking!